
The hardest part about photographing Benang Kelambu is not finding a nice angle. It is resisting the urge to photograph everything at once. The waterfall is full of fine lines and wet leaves, so the frame gets busy fast. A good Benang Kelambu waterfall photography guide should help you slow that down.
I usually tell guests to look for a minute before taking the camera out. Watch where the white water stands out against the cliff. Notice which leaves add depth and which ones just get in the way. That pause often does more for the photo than changing settings again and again.
You also have to accept that this is a wet place. Spray can reach your lens without much warning, and the ground deserves more attention than your screen. Beautiful frame or not, I would never recommend stepping onto unstable rock just to get lower.
Why Benang Kelambu Is Trickier Than It Looks
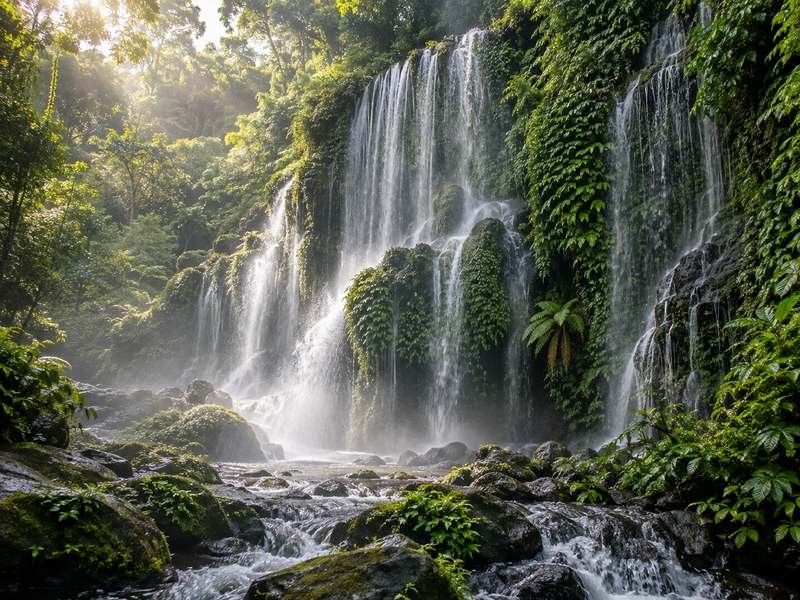
Benang Kelambu does not behave like a single dramatic drop. Water spreads across the green wall in many thin streams. From one position it can look soft and layered. Move a few steps and the same section may suddenly look flat.
That is why I prefer moving before zooming. A small change in where you stand can give the water a darker background. It can also remove a branch that was cutting awkwardly through the frame.
Benang Kelambu Waterfall Photography Guide to Natural Light
People often ask for the perfect time to shoot. I would be careful with that idea. Cloud cover changes the look of the falls, and bright patches can appear on wet leaves even when the scene feels shaded.
Soft light is forgiving because it keeps more detail in the water. When the contrast becomes harsh, expose for the brightest part of the falls and check the result. If the water has turned into a white patch with no texture, bring the exposure down a little.
You do not need to make every frame look silky. A slower shutter can soften the water, while a faster one can show the separate streams more clearly. The better choice is the one that matches what you actually see.
Keep the Frame Quiet
This place has a lot going on visually. That is part of the charm, but it is also where photos become messy. I tend to keep one strong foreground element at most. If branches start competing with the waterfall, I move.
One thing this Benang Kelambu waterfall photography guide keeps coming back to is simplicity, because the waterfall already gives you plenty of detail to work with.
For families, the photography plan should stay realistic. Children may not want to wait while someone tests ten versions of the same composition. The Benang Kelambu waterfall family guide is useful if your bigger concern is pace and comfort.
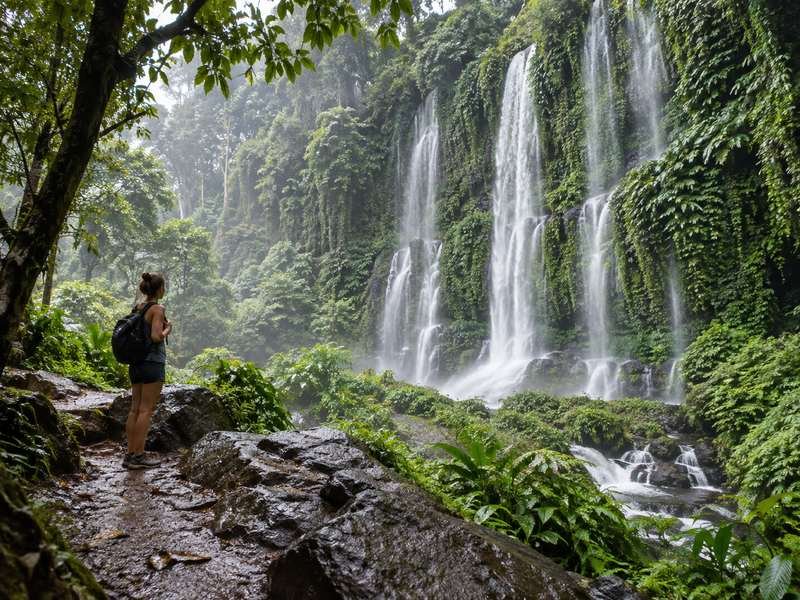
Portraits work better when the person does not cover the whole scene. Step back and leave room around them. The waterfall should still feel like a place, not just a background wall.
Your Lens Will Get Wet Eventually
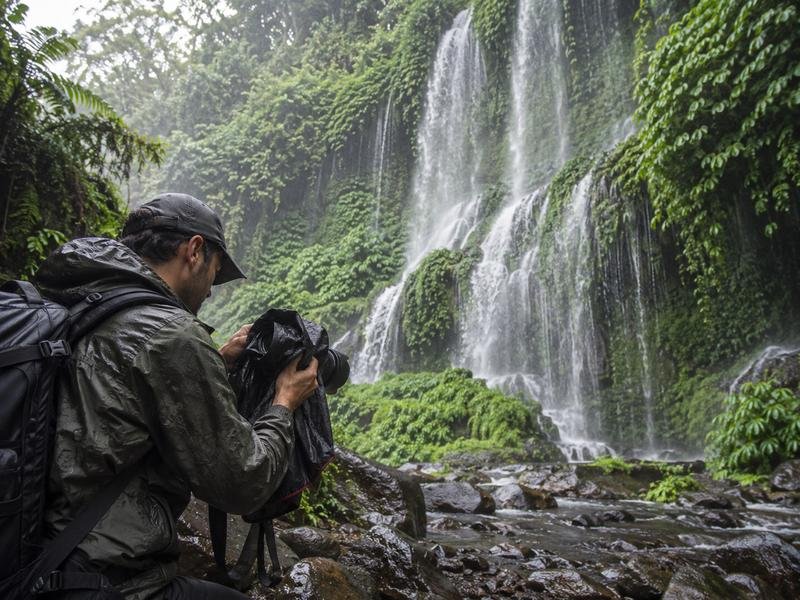
That sounds obvious, yet it catches people out. A tiny drop near the center of the lens may look harmless on the camera screen. Back at the hotel, it can ruin the cleanest frame of the day.
Keep a dry cloth somewhere you can reach without opening the whole bag. If the spray becomes stronger, close the bag before you continue. I also prefer changing lenses away from the wettest area.
And watch your feet. Rocks around waterfalls can be slick after rain. The safest angle is the one you can reach without testing your balance.
Phone Photos Can Look Surprisingly Good Here
A phone is often enough because the scene already has strong texture. Clean the lens first. It sounds basic, but sunscreen or fingerprints soften detail quickly.
Use the main camera when you can and move closer instead of leaning on digital zoom. Tap on the bright water to check exposure. If everything around the waterfall disappears into black, adjust until the scene feels closer to what your eyes see.
For a different waterfall mood on another day, the Sendang Gile and Tiu Kelep waterfall tour gives you a useful contrast. The visual character is different, so the way you frame the water changes too.
Do You Really Need a Tripod?
Not necessarily. A tripod helps with slower shutter speeds, but it can be awkward when the path is busy. I would bring a compact one only if long exposure images matter to you.
For most visitors, this Benang Kelambu waterfall photography guide is less about carrying more equipment and more about knowing when extra gear is actually useful.
Handheld shooting keeps you mobile. You can react to a cleaner angle and move when other visitors need space. If you use a tripod, make sure people can still pass comfortably.
What Else Fits Around a Benang Kelambu Visit?
Searches for Benang Kelambu waterfall nearby attractions usually come from travelers trying to make the drive worthwhile. That makes sense, but I would not pack the day too tightly if photography is the priority.
Waterfall visits stretch when you stop for pictures. Trail conditions can also change after rain. A route that looks neat on a map may feel rushed once walking time and real photo stops are added.
That is also why this Benang Kelambu waterfall photography guide leaves room for walking time instead of treating every stop as a quick photo opportunity.
If waterfalls are a major part of your Lombok trip, look through the broader waterfall Lombok options before fixing the day. It is easier to build a sensible route when driving and walking are considered together.
Which Camera Lens Makes Sense?
A standard zoom is the lens I would choose for most visitors. It gives enough width for the wider wall and enough reach for small sections of water. More important, you do not have to keep opening the camera in a damp place.
Is Early Morning Always Better?
No. It can be pleasant, but there is no fixed hour that guarantees ideal light or a quiet waterfall. Weather and visitor flow shift. Think in terms of softer light and a comfortable pace rather than one magic time.
How Long Should You Stay for Photography?
Longer than a quick sightseeing stop. If you care about photos, give yourself time to walk around and wait for a cleaner frame. This Benang Kelambu waterfall photography guide comes down to one habit: do not rush the scene.
What Should You Check Before Going?
Ask about current access and recent rain before you set out. Also check whether the walking conditions suit your group. Outdoor plans around Lombok can change, so local information on the day is more useful than assuming an old itinerary still fits.
How Do You Get Better Photos Without Overthinking It?
Pick one thing to simplify. Maybe it is the background. Maybe it is your exposure. Do not try to solve every technical problem in one frame.
My preference is to leave with fewer photographs that actually feel like the place. That is more satisfying than filling a memory card with near-identical shots.
The last point in this Benang Kelambu waterfall photography guide is not technical at all. Respect the trail and the people sharing it. If you want help fitting Benang Kelambu into a private Lombok day, message Lombok Adventure Trip through the official website. Ask Wayan and the team about current conditions or pickup arrangements, then leave enough room in the day to photograph without turning the rest of the trip into a race.